How Hyper-V High Availability Works
Organizations rely on continuous access to their applications and data, making service interruptions difficult to predict and even harder to recover from. Downtime can lead to workflow disruption, data loss, revenue impact and long-term damage to customer trust.
In a Microsoft Hyper-V environment, eliminating single points of failure is essential to maintaining stable operations and minimizing risk. By building redundancy into hosts and clustering resources, you can ensure that virtual machines remain available even if a hardware component fails. Hyper-V High Availability (HA) provides the mechanisms needed to keep workloads running and improve overall infrastructure resilience. Read this post to learn how HA works and how you can enable it in your environment.

How Hyper-V High Availability Works
High availability in Microsoft Hyper-V is achieved with a Hyper-V failover cluster. Failover clustering is the process of combining several independent computers (called nodes) into a single group, which enables a high level of availability and scalability of applications and services. Clustered servers can be connected by physical cables and by software. If one of the clustered servers fails, other nodes can take on its workload and perform the required services. This process is known as failover, which allows you to rapidly resume critical operations, reduce system downtime and ensure business continuity even during a disaster.
To verify the state of Hyper-V failover clusters, each cluster node sends a heartbeat signal once per second. If the system doesn’t receive a heartbeat from a specific node within a specific period, then the node is assumed to have failed. In such a case, another node takes on the workload, and critical processes should be successfully restored. Hyper-V in Windows Server 2025 can use the enhanced network intelligence via the NetFT component in failover clustering for more resilient network paths and optimized Live Migration performance.
One of the ways of ensuring Hyper-V High Availability is to place guest cluster nodes on different physical servers. Thus, if one of the physical hosts fails along with its guest cluster node, another guest cluster node automatically detects the system failure and starts running the clustered roles that were running on the failed node.
Moreover, with Hyper-V High Availability enabled, you can move clustered roles from one node to another without interrupting the application’s operation. This way, you can easily configure, troubleshoot, update or restart a specific VM. GPU Partitioning and its integration with Failover Clustering and Live Migration are the Hyper-V High Availability advancements for graphics-intensive and machine learning VM workloads.
Hyper-V High Availability Requirements
Before you can enable Hyper-V High Availability, you need to verify that your hardware and software settings are compatible with the failover clustering technology.
Hyper-V failover cluster requirements include:
- At least two cluster nodes, where one is used for running a production workload while another one is used for failover.
- CPUs with support for hardware-assisted virtualization and hardware-based Data Execution Prevention (DEP). It is recommended that you use processors that belong to the same CPU family in order to minimize the risk of cluster failure and optimize the process of VM migration. Starting with Windows Server 2025, due to the new Dynamic Processor Compatibility feature, it is possible to use processors of different generations even with live migration and high VM performance.
- Multiple networks should connect cluster nodes to avoid a single point of failure. Alternatively, your cluster nodes can be connected using one network, which consists of multiple network adapters, switches and routers. This way, you can ensure network redundancy in your infrastructure.
- Shared storage, which all cluster nodes can access via iSCSI, Fibre Channel or SMB 3.0 protocol. This means that multiple cluster nodes can have access to the same LUN at the same time and conduct read/write operations without interruptions. While shared storage is still a primary storage method for HA, it is not mandatory for all mobility (Live Migration) or cluster creation scenarios due to the new Shared Nothing Live Migration and enhanced Storage Live Migration features in Windows Server 2025.
- Cluster nodes can belong to the same Active Directory domain. This is optional starting from Windows Server 2025 (while it was mandatory in Windows Server 2022). Adding nodes to a domain helps to ensure cluster resiliency and provides support for more deployments. Making this parameter optional makes Workgroup Clusters a supported configuration, which is ideal for edge deployments or smaller environments.
- Cluster nodes should run either Hyper-V Server (for 2019 and older) or Windows Server (all versions, including Windows Server 2025) with the Hyper-V role enabled.
You must be a local administrator on each of the servers that you want to include in the cluster, since an administrator is the only person who can configure changes in failover clusters.
Enabling Failover Clustering Role on a Hyper-V Host
After checking all the requirements, you can now enable the Failover Clustering role on the Hyper-V host:
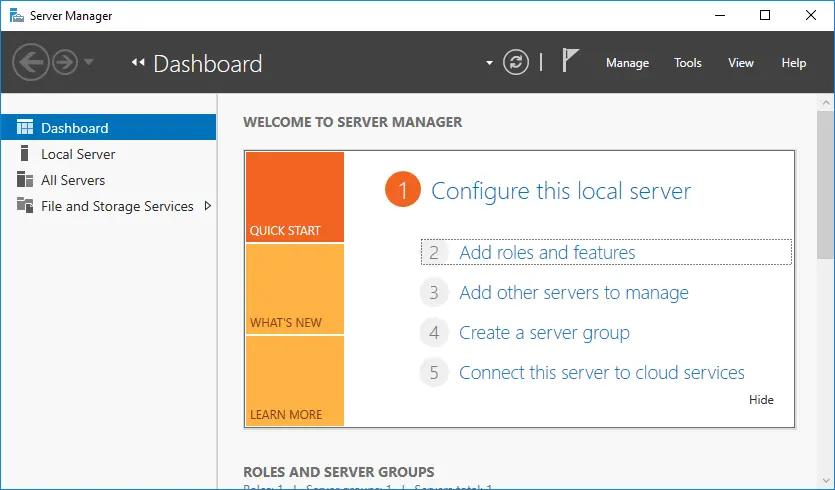
- Open the Server Manager.
- Select Add roles and features.
- Click Role-based or feature-based installation.
- Select a server or a virtual hard disk on which to install the Failover Clustering role.
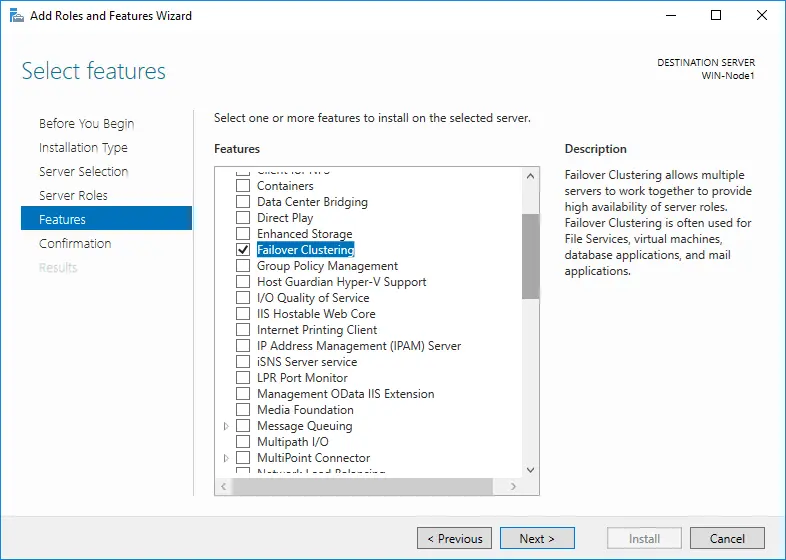
- In the Features section, select Failover Clustering.
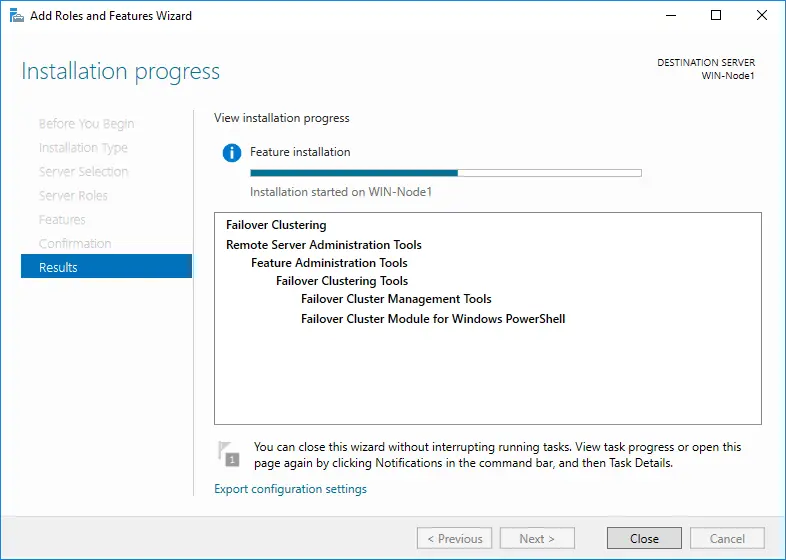
- In the Confirmation section, click Install.
- The installation should start automatically. In the Results section, you can see the progress and verify that the required components are installed.
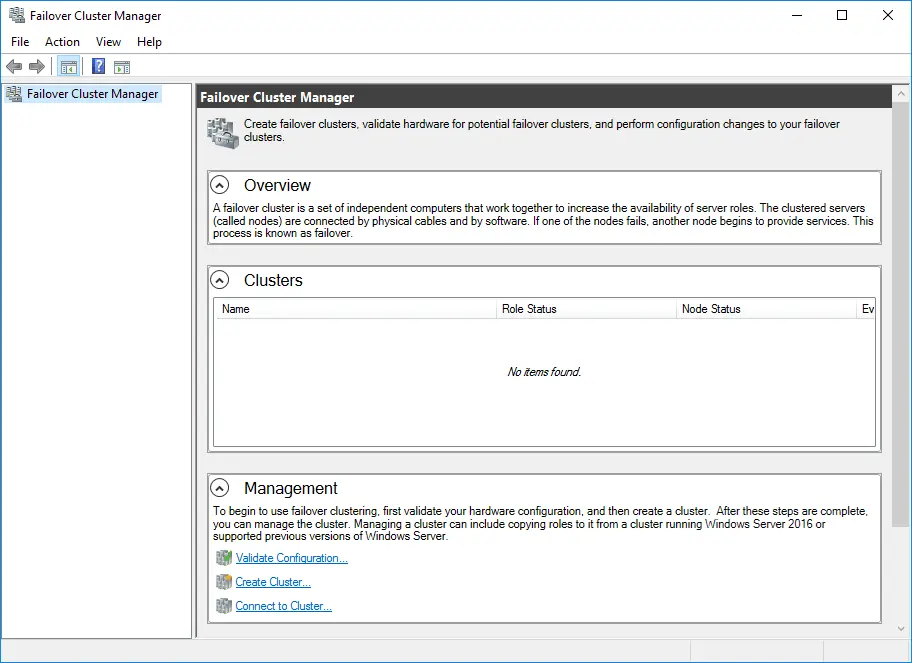
After installation, you can access the Failover Clustering feature. Using Failover Cluster Manager, you can now create failover clusters, validate hardware compatibility and configure existing failover clusters.
To launch the Failover Cluster Manager, open Server Manager, select Tools and click Failover Cluster Manager. The window should appear as follows:
You need to configure shared storage and networking to use a Hyper-V HA cluster.
NOTE: To use Failover Cluster Manager, you should first validate your hardware configuration, and only then can you start creating a failover cluster to enable Hyper-V High Availability.
To validate a set of unclustered servers, you need to know the names of those servers. On the other hand, to validate an existing failover cluster, you should know the name of the cluster or one of its nodes.
For a more comprehensive walkthrough, download our white paper on Hyper-V Failover Clustering, which explains how Hyper-V Failover Clustering works, describes use cases for Hyper-V failover clusters and clarifies in detail how to successfully deploy a failover cluster in a Hyper-V environment.
How to Create a Highly Available Hyper-V VM
To make a Hyper-V VM highly available in a failover cluster, you first need to create and configure a Hyper-V failover cluster and validate the configuration in Failover Cluster Manager. After that, your system is ready to enable Hyper-V High Availability.
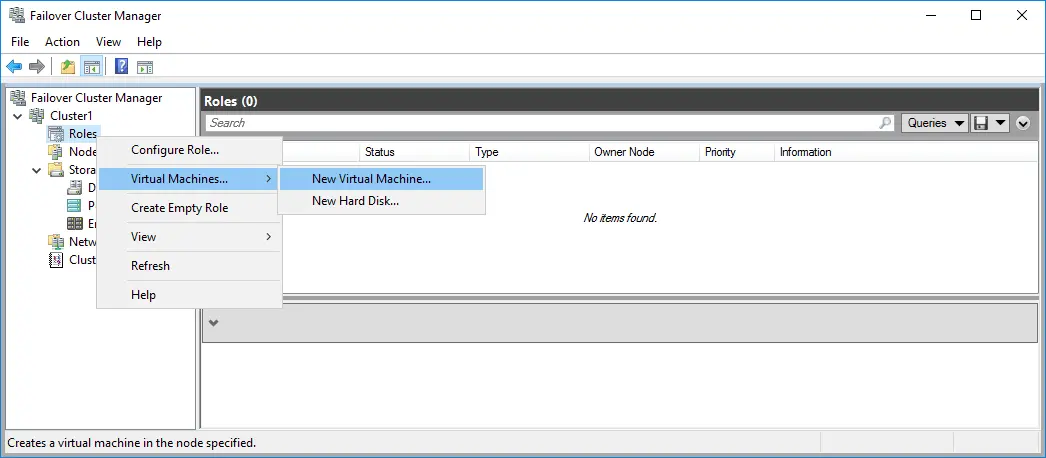
- Open the Failover Cluster Manager, and in the left pane, right-click Roles, select Virtual Machines and then go to New Virtual Machine.
- The New Virtual Machine window should open, where you can select the target cluster node on which the VM should run.

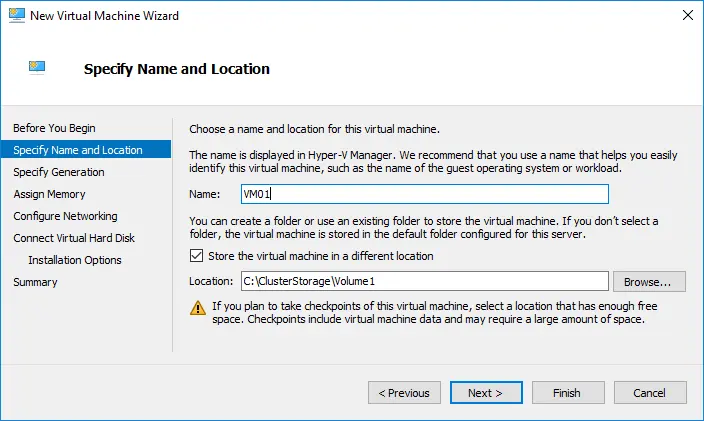
- The New Virtual Machine Wizard should open. Read the information in the Before You Begin section.
- In the Specify Name and Location section, enter the name of the new VM and select the folder for storing the VM.
- In the Specify Generation section, choose the generation of the new VM.
- In the Assign Memory section, you should specify the amount of startup memory that can be used by the new VM. Moreover, you can enable the use of Dynamic Memory for this VM.
- In the Configure Networking section, select the virtual switch that the network adapter can use.
- In the Connect Virtual Hard Disk section, specify on which virtual hard disk the VM should be stored. Here, you can create a virtual hard disk, use an existing virtual hard disk or attach a virtual hard disk later.
- In the Installation Options section, select how you would like the OS to be installed on this VM.
- In the Summary section, read the description of the new VM and click Finish to create the new highly available VM.
After completing these configurations, you should have the highly available Hyper-V VM, which can be easily failed over (live migrated) to another host if its original Hyper-V host fails.
How to Make an Existing Hyper-V VM Highly Available
You can make an existing Hyper-V VM highly available, provided it is connected to a shared storage.
- Open Failover Cluster Manager, and in the left pane, right-click Roles and select Configure Role.

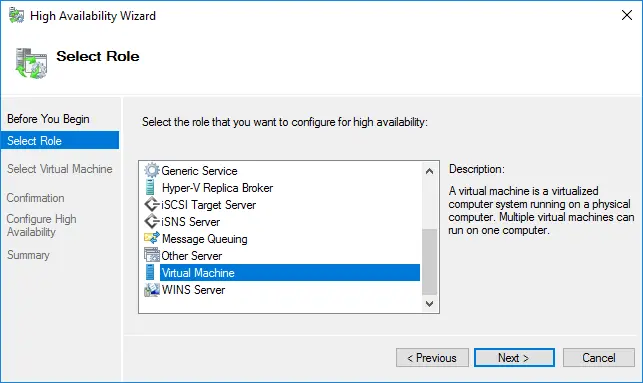
- The High Availability Wizard should open. Read the information in the Before You Begin screen.
- In the Select Role section, click Virtual Machine to enable Hyper-V High Availability for specific VMs.
- In the Select Virtual Machine section, choose the VMs that you want to make highly available.
- In the Confirmation section, you have to confirm that you want to enable Hyper-V High Availability for this specific VM.
- In the Configure High Availability section, you can see the progress.
- In the Summary section, you can see the results of this operation and verify that the selected Hyper-V VMs were made highly available. Click Finish.
After completing this configuration process, your VMs are fault-tolerant and, as a result, Hyper-V High Availability is enabled in your virtual environment. If a server or a component fails, Hyper-V High Availability can help you quickly recover to reduce downtime and disruptions.
Conclusion
Implementing Hyper-V High Availability allows you to maintain uptime even when individual hosts or components fail. With the proper cluster configuration and redundancy measures, your virtual machines can continue running without major service disruption. Adopting Hyper-V HA strengthens your overall infrastructure resilience and supports reliable long-term operations.